Panasonic Bread Machine Recipes PDF: A Comprehensive Guide
Panasonic bread machine recipe PDFs offer diverse options, from classic loaves to sweet treats and even jams, ensuring baking success for all users.
Panasonic bread machines are renowned for their consistent performance and versatility, making them a favorite among baking enthusiasts. These appliances simplify the bread-making process, offering pre-programmed settings for various loaf types and doughs. Accessing a Panasonic bread machine recipes PDF unlocks a world of culinary possibilities, extending beyond basic white bread to include gluten-free options, sweet creations like challah, and even specialty loaves like sourdough.
The availability of digital recipe books, often in PDF format, provides convenient access to a wide range of tested recipes specifically tailored for Panasonic models. These resources often include detailed instructions, ingredient lists, and helpful tips for achieving perfect results every time, ensuring a delightful baking experience.
Understanding the PDF Recipe Book
A Panasonic bread machine recipes PDF typically organizes recipes by category – basic, gluten-free, sweet, or flavored – for easy navigation. Each recipe includes a detailed ingredient list, precise measurements, and step-by-step instructions optimized for Panasonic machines. Pay close attention to the specified program settings (e.g., basic, whole wheat, rapid bake) and crust color options.
Many PDFs also feature helpful sections on troubleshooting common issues, ingredient substitutions, and scaling recipes. Understanding these nuances ensures successful baking and allows for customization based on dietary needs or preferences. Utilizing the PDF’s index and search function streamlines recipe selection.
Basic Bread Recipes
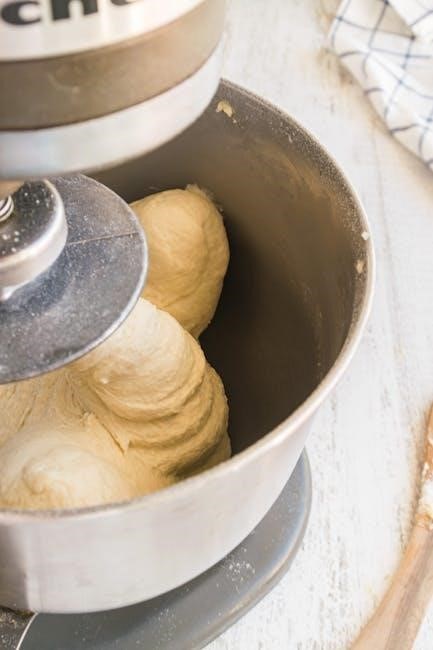
Panasonic bread machine recipe PDFs commonly begin with foundational recipes like classic white bread, providing a starting point for beginners. These recipes typically utilize simple ingredients – flour, water, yeast, sugar, and salt – and the machine’s basic bread program. Whole wheat bread recipes follow, often incorporating a blend of whole wheat and bread flour for optimal texture.
These basic recipes serve as templates for experimentation. The PDF guides users through ingredient ratios and mixing techniques, establishing a solid understanding of bread-making principles within the Panasonic machine’s capabilities. Mastering these basics unlocks a world of baking possibilities.
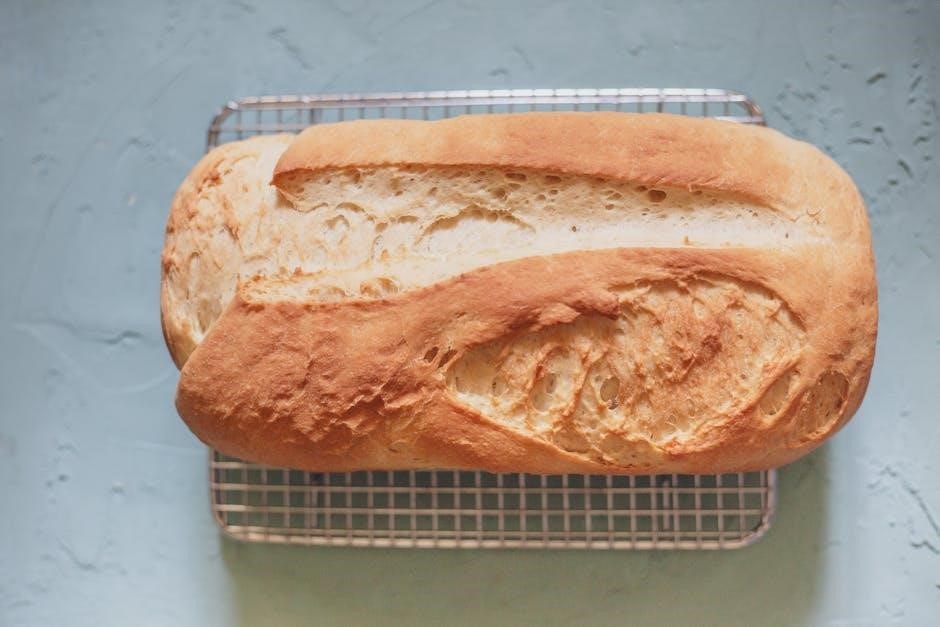
Classic White Bread
Panasonic bread machine recipe PDFs detail classic white bread recipes with precise measurements for optimal results. Typically, these recipes call for bread flour, water, sugar, salt, and active dry yeast. The PDF guides users through adding ingredients in the correct order – usually liquids first, then dry ingredients, with yeast last – to ensure proper activation.

The standard program on most Panasonic machines is utilized, often with a crust setting selection. These recipes emphasize simplicity, yielding a soft-crusted, fluffy loaf perfect for sandwiches or toast. Detailed instructions address potential issues and offer tips for consistent baking.
Whole Wheat Bread
Panasonic bread machine recipe PDFs provide whole wheat bread recipes, often incorporating a blend of whole wheat and bread flour for improved texture. These recipes typically include honey or molasses for added moisture and flavor, counteracting the dryness sometimes associated with whole wheat.
PDF guides emphasize the importance of using vital wheat gluten to enhance the loaf’s rise and structure. The “Whole Wheat” program on Panasonic machines is recommended, with adjustments for crust color. Recipes detail ingredient order and suggest techniques for achieving a lighter, softer crumb in whole wheat loaves, offering a nutritious and delicious bread option.
Gluten-Free Bread Recipes
Panasonic bread machine recipe PDFs increasingly feature gluten-free options, recognizing dietary needs. These recipes utilize gluten-free flour blends, often combining rice flour, tapioca starch, and potato starch, alongside xanthan gum for binding.
PDF guides detail specific program settings on Panasonic machines optimized for gluten-free baking, typically a dedicated “Gluten-Free” cycle. Recipes emphasize precise measurements and ingredient temperatures for successful results. Variations include gluten-free white bread and multi-grain options, offering alternatives for those avoiding gluten while still enjoying homemade bread from their Panasonic machine.
Gluten-Free White Bread
Panasonic bread machine recipe PDFs provide detailed instructions for Gluten-Free White Bread, typically requiring a specialized gluten-free flour blend. These blends often include white rice flour, tapioca starch, and potato starch, combined with xanthan gum to mimic gluten’s elasticity.
The PDF guides specify using the machine’s dedicated “Gluten-Free” cycle, ensuring proper mixing and rising. Recipes emphasize warm water activation of the yeast and precise ingredient measurements. Expect a slightly different texture than traditional white bread – often softer and denser – but still a delicious, homemade loaf suitable for various uses.
Gluten-Free Multi-Grain Bread
Panasonic bread machine recipe PDFs showcase Gluten-Free Multi-Grain Bread, utilizing gluten-free flour blends alongside nutritious additions like millet, quinoa, and flaxseed. These recipes often necessitate a higher ratio of xanthan gum compared to white gluten-free bread, compensating for the lack of gluten and the heavier grain content.
PDF instructions detail the importance of pre-mixing dry ingredients thoroughly to distribute the grains evenly. The “Gluten-Free” cycle is crucial, and some recipes suggest a pre-soak for the grains to improve texture. Expect a hearty, flavorful loaf, though potentially denser than gluten-containing varieties.
Sweet Bread Recipes
Panasonic bread machine recipe PDFs unlock a delightful world of sweet breads, extending beyond basic loaves. Challah, with its rich egg content, and Hazelnut Bread, featuring finely ground nuts, are popular choices. French Countryside Bread, often incorporating dried fruits and a touch of honey, also appears frequently.
These recipes typically require careful attention to sugar and yeast ratios, as higher sugar levels can inhibit yeast activity. The “Sweet” cycle on your Panasonic machine is essential for optimal results, providing a slower rise and gentler baking process. Expect golden-brown crusts and incredibly soft interiors.
Challah Bread
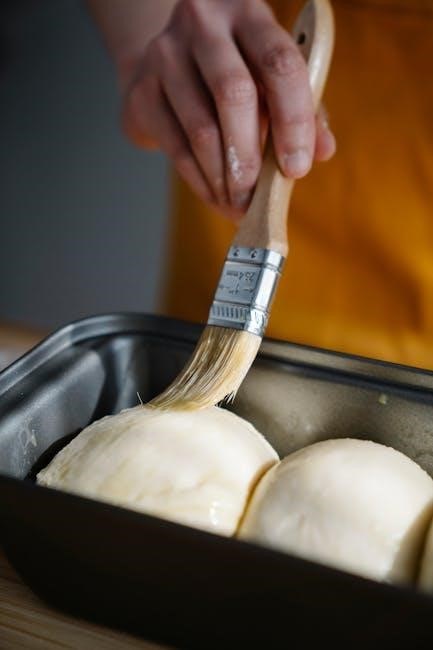
Panasonic bread machine recipe PDFs often include variations of Challah, a traditional Jewish egg bread known for its soft, slightly sweet flavor and braided appearance. The recipe typically calls for a higher proportion of eggs, enriching the dough and contributing to its tender crumb; Sugar and oil are also key components, enhancing both taste and texture.
Using the “Sweet” cycle on your Panasonic machine is crucial for Challah, allowing for a slower rise and proper development of the gluten. While the machine handles the kneading and baking, you’ll usually need to shape the dough into a braid before placing it in the pan for the final rise and bake.
Hazelnut Bread
Panasonic bread machine recipe PDFs frequently feature Hazelnut Bread, a delightful loaf boasting a nutty aroma and satisfyingly chewy texture. Recipes generally incorporate hazelnut flour or finely chopped roasted hazelnuts directly into the dough, providing both flavor and a subtle crunch. Some variations also include hazelnut extract to intensify the nutty profile.
For optimal results, utilize the “Sweet” or “French” cycle on your Panasonic machine, as these settings provide a longer rise time suitable for enriched doughs. Consider adding a glaze made with powdered sugar and hazelnut flavoring post-baking for an extra touch of sweetness and visual appeal.
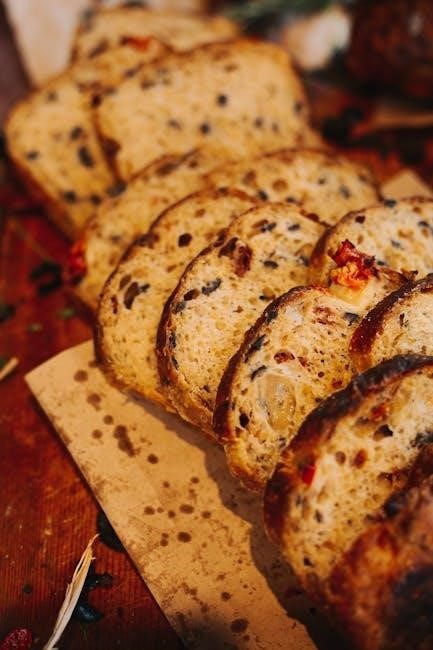
French Countryside Bread
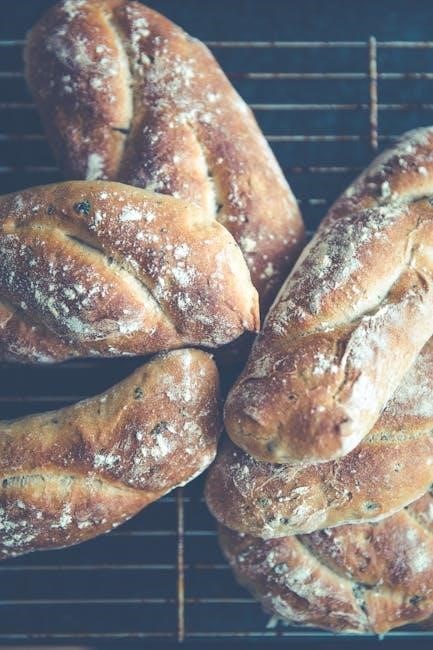
Panasonic bread machine recipe PDFs often include French Countryside Bread, a rustic loaf characterized by its hearty crust and slightly tangy flavor. These recipes typically utilize a blend of bread flour and whole wheat flour, contributing to the bread’s robust texture and nutritional value. A pre-ferment, or poolish, is sometimes incorporated to enhance the depth of flavor and create a more open crumb.
Employ the “French” bread cycle on your Panasonic machine for best results, allowing for a longer, slower rise that develops the characteristic flavor. Scoring the top of the loaf before baking mimics traditional techniques and aids in oven spring.
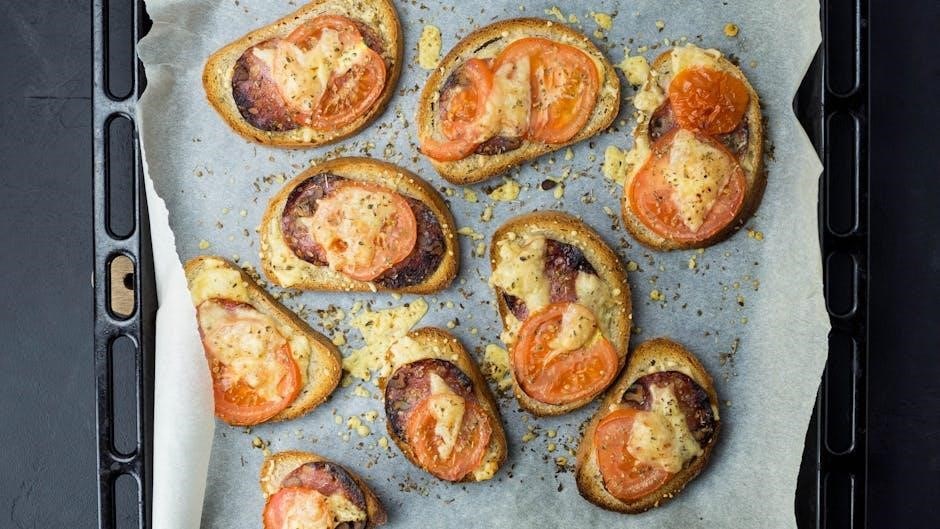
Flavored Bread Recipes
Panasonic bread machine recipe PDFs excel in offering a wide array of flavored bread options, expanding beyond basic loaves. Popular choices include Herb and Cheese Bread, featuring a savory blend of rosemary, thyme, and cheddar, and Olive Bread, studded with Kalamata or green olives for a Mediterranean twist. These recipes demonstrate the machine’s versatility.
PDF guides often detail precise ingredient additions – when to incorporate herbs, cheeses, or olives – to ensure even distribution. Experimentation is encouraged; sun-dried tomatoes, jalapeños, or roasted garlic can also elevate your bread machine creations, providing delightful variations.
Herb and Cheese Bread
Panasonic bread machine recipe PDFs frequently include a delightful Herb and Cheese Bread recipe, a savory favorite. Typically, this recipe calls for 1 tablespoon of dried herbs – a blend of rosemary, thyme, and oregano works wonderfully – alongside 1 cup of shredded cheddar cheese. The PDF guides emphasize adding these ingredients during the second knead cycle for optimal distribution.
Variations abound; consider using different cheeses like Parmesan or Monterey Jack, or experimenting with fresh herbs for a bolder flavor. Some recipes suggest a touch of garlic powder for added depth; This recipe showcases the machine’s ability to create flavorful, artisan-style breads effortlessly.
Olive Bread
Panasonic bread machine recipe PDFs often feature a flavorful Olive Bread, a Mediterranean-inspired delight. These recipes typically incorporate ½ to ¾ cup of Kalamata olives, pitted and coarsely chopped, added during the second knead cycle. The PDF instructions stress the importance of draining the olives well to prevent a soggy loaf.
Some variations suggest adding a tablespoon of olive oil to the dough for enhanced flavor and moisture. A sprinkle of oregano or rosemary complements the olives beautifully. This recipe demonstrates the bread machine’s versatility, allowing for the creation of complex, savory breads with minimal effort, perfect for pairing with cheeses and dips.
Specialty Bread Recipes
Panasonic bread machine recipe PDFs extend beyond basic loaves, offering a range of specialty breads for adventurous bakers. These often include Sourdough, requiring specific starter ratios and proofing times detailed within the PDF guides. A popular choice is Carrot Sourdough Bread with Seeds, showcasing unique flavor combinations and textural elements.
The PDFs emphasize the importance of precise ingredient measurements and following the recommended cycle settings for optimal results with these more complex recipes. Specialty breads demonstrate the machine’s capability to replicate artisan-style loaves, providing a rewarding baking experience.
Sourdough Bread
Panasonic bread machine recipe PDFs dedicated to Sourdough emphasize the crucial role of a mature and active starter. These guides detail starter maintenance, feeding schedules, and appropriate hydration levels for consistent results. Recipes often specify a pre-ferment stage, allowing the sourdough flavors to develop before the main bake.
PDF instructions highlight the unique cycle settings required for sourdough, typically involving longer rise times and adjusted kneading patterns. Successful sourdough relies on precise timing and temperature control, clearly outlined within the Panasonic recipe resources, yielding a tangy and flavorful loaf.
Carrot Sourdough Bread with Seeds
Panasonic bread machine recipe PDFs featuring Carrot Sourdough with Seeds showcase a delightful fusion of flavors and textures. These recipes typically involve finely grated carrots, adding natural sweetness and moisture to the sourdough base. Seed blends – sunflower, pumpkin, or flax – contribute a nutty crunch and enhanced nutritional value.
PDF guides detail the optimal carrot-to-flour ratio and seed incorporation techniques for even distribution. Specific cycle recommendations ensure proper hydration and rise, resulting in a beautifully textured loaf. The recipes often emphasize the importance of a robust sourdough starter for a balanced flavor profile.
Recipes Beyond Bread
Panasonic bread machine recipe PDFs aren’t limited to just loaves; they unlock a surprising versatility! Many guides include recipes for homemade jams, perfect for pairing with your freshly baked bread. These often utilize seasonal fruits and simple ingredients, offering a delightful alternative to store-bought preserves.
Furthermore, some PDFs feature cake recipes adapted for bread machines, demonstrating their capability beyond traditional baking. These recipes typically involve lighter batters and shorter baking cycles. Exploring these options expands the machine’s utility, proving it’s a valuable asset for diverse culinary creations.
Jam Recipes for Bread Machines
Panasonic bread machine recipe PDFs frequently include delightful jam recipes, offering a convenient way to create homemade preserves. These recipes typically utilize fresh or frozen fruits, sugar, and sometimes pectin for optimal setting. The bread machine’s controlled heating and mixing ensure even cooking and a consistent texture.
Strawberry, raspberry, and apricot jams are common choices, but experimentation with other fruits is encouraged. The process is surprisingly simple, requiring minimal supervision. These homemade jams perfectly complement the breads baked in the same machine, creating a truly satisfying culinary experience.
Cake Recipes for Bread Machines
Panasonic bread machine recipe PDFs surprisingly extend beyond bread, often featuring cake recipes for a delightful treat. These recipes leverage the machine’s mixing and baking capabilities for simple, fuss-free cakes. Typically, ingredients like flour, sugar, eggs, and leavening agents are combined directly in the bread pan.

Chocolate, vanilla, and banana cakes are popular choices, offering a quick dessert solution. While the texture differs from oven-baked cakes, bread machine cakes are moist and flavorful. These recipes demonstrate the versatility of the appliance, proving it’s not limited to just bread-making endeavors.
Troubleshooting Common Issues
Panasonic bread machine recipe PDFs frequently include troubleshooting sections to address common baking problems. An abnormal bread shape is often cited, potentially caused by uneven ingredient distribution or improper kneading. Dense bread can result from insufficient yeast, incorrect liquid measurements, or using expired ingredients.
The PDFs advise checking ingredient quality and following recipes precisely. Other issues include a collapsed loaf (too much liquid) or a burnt crust (excessive sugar). Consulting the manual and online forums can provide further solutions, ensuring successful baking despite occasional setbacks.

Addressing Abnormal Bread Shape
Panasonic bread machine recipe PDFs highlight that an abnormal bread shape is a frequent concern. This often stems from uneven ingredient distribution within the pan before the baking cycle begins. Insufficient kneading, or a machine malfunction impacting the kneading process, can also contribute.
The PDFs recommend ensuring ingredients are thoroughly combined and evenly spread. Checking the kneading paddle for proper function is crucial. Sometimes, adjusting liquid levels slightly can improve the dough’s consistency and rise, leading to a more uniform loaf shape. Proper ingredient measurement is key!
Dealing with Dense Bread
Panasonic bread machine recipe PDFs frequently address the issue of dense bread, a common frustration for bakers. This typically indicates insufficient yeast activity or improper hydration of the dough. Expired yeast is a primary culprit, so checking the expiration date is vital.
The guides suggest ensuring accurate yeast measurement and using warm (not hot) liquid to activate it. Insufficient liquid, or using flour that’s too densely packed, can also lead to a heavy loaf. Adjusting liquid amounts slightly, or using a lighter flour, may resolve the issue. Proper kneading is also essential for gluten development.
Using the Panasonic Bread Machine Settings
Panasonic bread machine recipe PDFs emphasize mastering the machine’s settings for optimal results. Understanding crust settings – light, medium, and dark – allows customization of the bread’s exterior. The timer function, detailed in the PDFs, enables delayed starts, perfect for fresh bread in the morning.
Recipe-specific settings, like ‘Sweet’ or ‘Whole Wheat,’ are crucial for proper ingredient handling and baking times. PDFs often include charts detailing which settings correspond to various recipes. Experimentation and careful observation of the dough’s progress are encouraged for personalized baking.
Understanding Crust Settings
Panasonic bread machine recipe PDFs consistently highlight the importance of crust settings. These settings – typically light, medium, and dark – directly impact the final bread’s appearance and texture. A lighter crust yields a softer loaf, ideal for sandwiches, while a darker crust provides a more robust, flavorful experience.
PDFs often advise starting with the medium setting and adjusting based on preference. Factors like humidity and ingredient ratios can influence the outcome, necessitating experimentation. Understanding how these settings interact with recipe instructions is key to achieving consistently perfect loaves.
Utilizing the Timer Function
Panasonic bread machine recipe PDFs frequently detail the benefits of the timer function for convenient baking. This feature allows users to delay the start of the bread-making process, ensuring a fresh loaf is ready at a desired time. PDFs emphasize the importance of using fresh ingredients when employing the timer, particularly yeast, to guarantee proper rising.
Recipes often include specific instructions regarding ingredient order when using the delay function; liquids are typically added first. Understanding the maximum delay time, usually around 13 hours, is crucial for successful timed baking, as detailed within the PDF guides.
Ingredient Considerations
Panasonic bread machine recipe PDFs consistently highlight the significance of ingredient quality for optimal results. They emphasize using bread flour with a higher protein content for improved gluten development and loaf structure. PDFs detail how different flour types – whole wheat, rye, etc. – impact the final texture and may require adjustments to liquid ratios.
Yeast selection is also crucial; PDFs recommend instant or bread machine yeast for consistent performance. Proper yeast storage and checking for viability are often addressed. Ingredient temperature, particularly for liquids, is noted as impacting yeast activity and dough rising, as detailed in the guides.
Best Types of Flour
Panasonic bread machine recipe PDFs frequently recommend bread flour as the primary choice, due to its higher protein content which develops stronger gluten, resulting in a chewier, more structured loaf. All-purpose flour can be used, but may yield a slightly less robust texture. Whole wheat flour is often included, but PDFs advise combining it with bread flour for best results, as 100% whole wheat can create a denser bread.
Rye flour and other specialty flours are also mentioned, with guidance on adjusting liquid levels accordingly. The PDFs stress that flour freshness impacts outcome.
Yeast Selection
Panasonic bread machine recipe PDFs consistently emphasize the importance of yeast quality and type. Active dry yeast and instant yeast (also called bread machine yeast) are the most commonly recommended options. Instant yeast can typically be added directly to the dry ingredients, while active dry yeast usually requires proofing in warm water with a little sugar first, as detailed in the PDF instructions.
The PDFs caution against using expired yeast, as it can lead to bread that doesn’t rise properly. Proper storage, in an airtight container, is also advised to maintain yeast viability.
Recipe Scaling and Adjustments
Panasonic bread machine recipe PDFs often include guidance on adjusting recipes for different loaf sizes, typically 1.5lb or 2lb capacities. Scaling requires proportional adjustments to all ingredients – flour, liquids, yeast, and sweeteners – to maintain the correct dough consistency. The PDFs frequently advise starting with small adjustments and observing the dough’s texture during the kneading cycle.
Regarding substitutions, the documents suggest that minor ingredient swaps are usually acceptable, but significant changes, like altering flour types drastically, may impact the final result. Careful consideration is key for optimal baking.
Adjusting Recipes for Different Loaf Sizes
Panasonic bread machine recipe PDFs emphasize proportional scaling when adapting recipes for 1.5lb versus 2lb loaf pans. A simple multiplication factor is often provided; for example, multiplying all ingredients by 1.33 to increase from 1.5lb to 2lb. However, PDFs caution against simply scaling yeast, recommending slight adjustments based on ambient temperature and humidity.
They also suggest observing the dough’s consistency during kneading – adding small amounts of flour or liquid as needed to achieve a smooth, elastic texture. Accurate measurements are crucial for consistent results across different loaf sizes.
Substituting Ingredients
Panasonic bread machine recipe PDFs acknowledge ingredient substitutions are sometimes necessary, but advise caution. For example, honey or maple syrup can often replace sugar, using slightly less liquid due to their moisture content. Milk can substitute water, enriching the dough, but may require minor flour adjustments.
PDFs strongly discourage substituting gluten-free flours without a dedicated gluten-free recipe, as gluten development is vital for structure. They also note that different brands of yeast can yield varying results, recommending a consistent brand for reliable outcomes. Careful consideration is key.
Finding More Recipes Online
Beyond the Panasonic bread machine recipes PDF, numerous online resources expand your baking possibilities. The Ideas Kitchen offers a dedicated archive of bread maker recipes, specifically tailored for Panasonic machines, providing a wealth of inspiration. Online forums and communities dedicated to bread baking frequently host user-submitted recipes and troubleshooting tips.
Exploring these digital spaces allows bakers to discover unique flavor combinations and adapt recipes to their preferences. Remember to verify recipe sources and adjust ingredients based on your machine’s specifications for optimal results.
The Ideas Kitchen Bread Maker Recipes
The Ideas Kitchen presents a comprehensive collection of Bread Maker Recipes, ideally suited for a Panasonic Bread Maker. Their easily navigable website features a categorized archive, simplifying the search for desired recipes. Users can explore options ranging from basic white bread to more adventurous creations like challah and multi-grain loaves.
This resource provides detailed instructions and ingredient lists, ensuring successful baking experiences. Regularly updated with new additions, The Ideas Kitchen remains a valuable source for Panasonic bread machine enthusiasts seeking fresh inspiration;
Online Archives and Forums
Numerous online archives and dedicated bread machine forums serve as invaluable resources for Panasonic bread machine users seeking recipes. These platforms often host user-submitted recipes, troubleshooting tips, and discussions regarding ingredient substitutions and adjustments. Exploring these communities allows bakers to expand their repertoire beyond standard recipe books.
Many forums feature dedicated sections for specific bread machine models, including Panasonic, facilitating targeted advice. These digital spaces foster a collaborative environment where enthusiasts share their experiences and refine their baking techniques, offering a wealth of practical knowledge.
Safety Precautions
Prioritizing safety when using your Panasonic bread machine is crucial. Always ensure the machine is unplugged before cleaning, preventing electrical hazards. Thoroughly clean the bread pan and kneading blade after each use to avoid food buildup and potential malfunctions. Avoid immersing the main unit in water.
Be mindful of the hot surfaces during and immediately after baking. Allow the machine to cool completely before handling or storing. Regularly inspect the power cord for any damage, and discontinue use if fraying is observed. Proper maintenance extends the machine’s lifespan and ensures safe operation.
Proper Machine Cleaning
Maintaining a clean Panasonic bread machine is essential for optimal performance and hygiene; Always unplug the machine before cleaning. The bread pan and kneading blade are typically dishwasher-safe, but hand washing with warm, soapy water is also effective. Avoid abrasive cleaners that could damage the non-stick coating.
Wipe the exterior of the machine with a damp cloth. Never immerse the main unit in water. Regularly check and clean the crumb tray to prevent buildup. Ensure all parts are thoroughly dried before reassembling. Consistent cleaning prevents odors and ensures longevity.
Electrical Safety
When using your Panasonic bread machine, prioritize electrical safety. Always ensure the machine is plugged into a grounded outlet with the correct voltage. Never operate the machine with a damaged cord or plug; replace them immediately. Avoid using extension cords if possible, and if necessary, use a heavy-duty cord.
Keep the machine away from water and other liquids to prevent electric shock. Do not attempt to disassemble or repair the machine yourself; contact qualified service personnel. Unplug the machine when not in use and before cleaning. Following these precautions ensures safe operation.